Stairs
One of the first things that needed to go was the carpet and wallpaper. And the natural trim and yellow walls. And the knotty pine at the top of the stairs. Everything needed to go!!
The wallpaper came off pretty easily. I used a utility knife to score the wall and then sprayed the wall with a solution of one part warm water and one part laundry softener. From there, I let the solution sit on the walls for about five minutes and then used a putty knife to remove the wall paper. It worked like a charm!
Then it was time to rip up the carpet.
There were tons of staples and they were all pretty stubborn. I worked on the nails for about a week for an hour here and there. Between work and finishing other painting projects, it kinda fell low on the list. But it looked like this for about a month before I started painting. I taped the stairs to create the runner and my friend pointed out it was crooked. Precision and perfection have never been my strength. Luckily she offered to remeasure and tape for me.
The friendly folks at Home Depot helped walk me through the process of painting the stairs. After you paint you are supposed to avoid walking on it for at least a week. Notice how I left myself a path. Also note that there is no overhead light because I broke the circuit when swapping out light switches.
Alas, this is where it has lasted for about the last year. Still missing the railing and want to replace light fixture, but at least I got around to hiring an electrician get the light to work!
Entry Wall
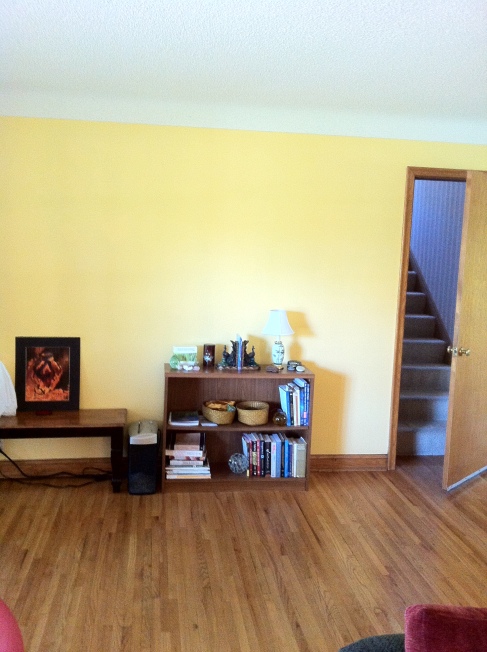
Before
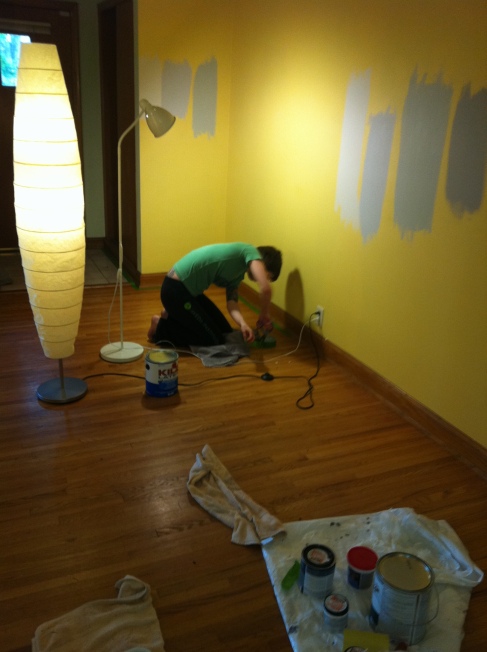
Within the first 48 hours of moving in I was all over this project! The yellow walls stressed me out, as did the natural woodwork. Part of me felt like I was breaking a cardinal sin by painting the trim white when it had been preserved over the past 60 years. I felt bad for about three seconds and then gleefully busted out the Kilz. The color of grey was so hard to get right. First of all, don’t paint gray over yellow and expect to really tell what the color will look like.
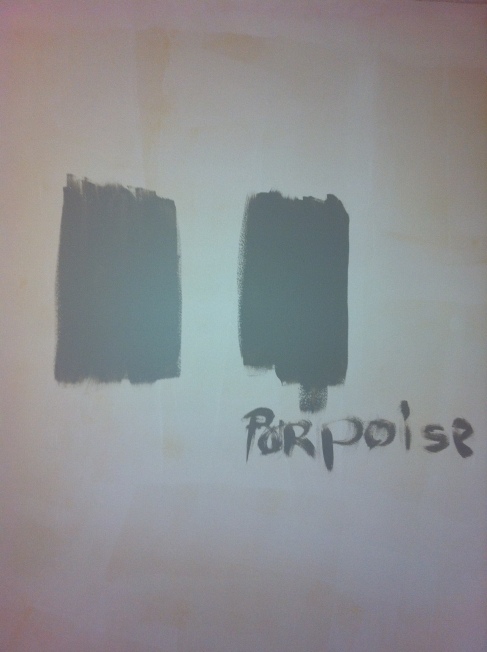
Oops! The grays looked awful on top of the sunshine yellow, so I primed the walls with kilz. And from there it was decided to go with Porpoise from Behr.
It took about two ten hour days to paint the living room, dining room and entry. The worst part is that I didn’t like the color once it was done. It’s been about a year now and I still have yet to change it. It has too much purple in it but maybe it’s growing on me.
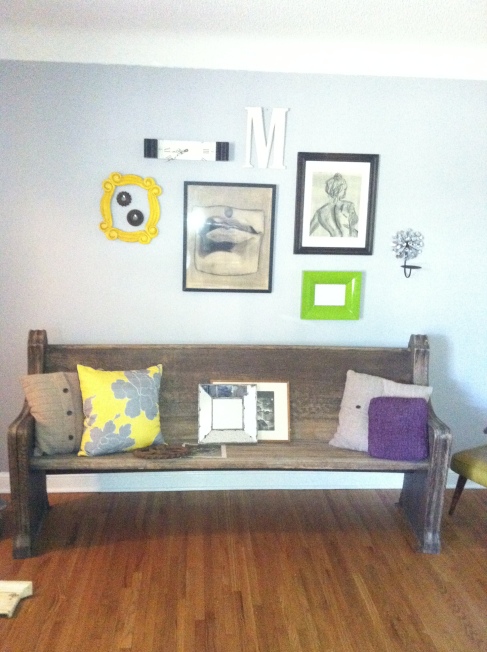
I found this awesome church pew at a garage sale in Minneapolis! It originally came from a church in Oregon and this girl brought the pew with her when she moved to Minneapolis for her boyfriend. The pew got left outside for a winter and survived several thunderstorms. The pew definitely has a lot of character and I like how unexpected it is!
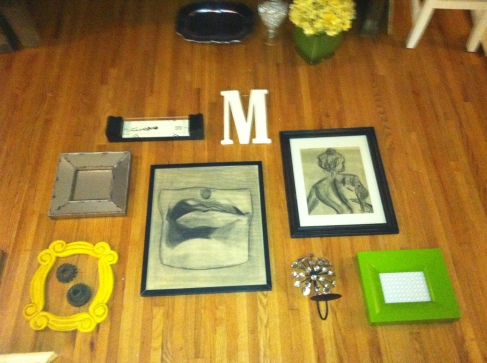
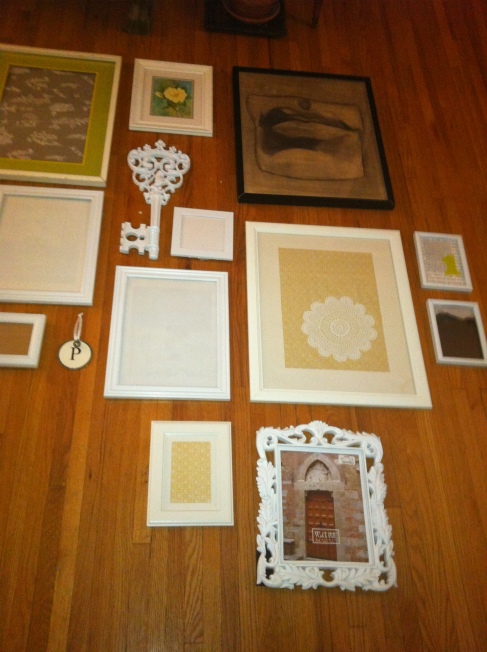
I found a group of art and set it out on the floor and rearranged it like a puzzle. I’d like to say that from there I measured everything and marked the measurements on the wall, but I eyeballed it. Part of designing and decorating is not being afraid to make mistakes. With this philosophy you have to accept you may have a few unnecessary holes in your walls.
As much as I liked the wall arrangement it seemed a little to minimal for such a large wall. After about eight months the wall was taken down and back on the floor.
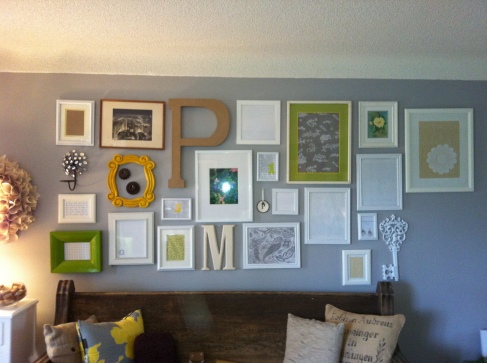
Within two weeks the wall evolved into this…
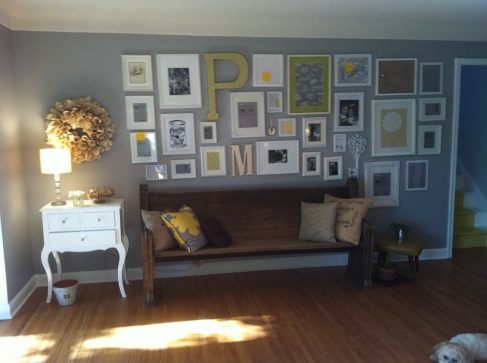
This wall has continued to be a work in progress. I have the majority of the art placed where I want it, however some frames are still lacking photos or drawings. I decided not to rush it. I’d rather have a few empty frames rather that space fillers. It’s coming along, don’t you think?
Front Entry Fall 2012

On my way home from running errands I was bummed because I didn’t find anything for my outside entry way. All my summer plants were done for the season and my front steps were bare. After leaving Target I passed by the flower shop. 30% of mums!!!
I scored these huge mums for $7 each. The pumpkins, gourds, corn stocks and flowers were all on sale, and I was able to dress the entire front entry for $58.47. I’m a little concerned that the plants won’t make it past the end of next week but that’s another day!
Hello world!
Welcome to WordPress.com! This is your very first post. Click the Edit link to modify or delete it, or start a new post. If you like, use this post to tell readers why you started this blog and what you plan to do with it.
Happy blogging!
